
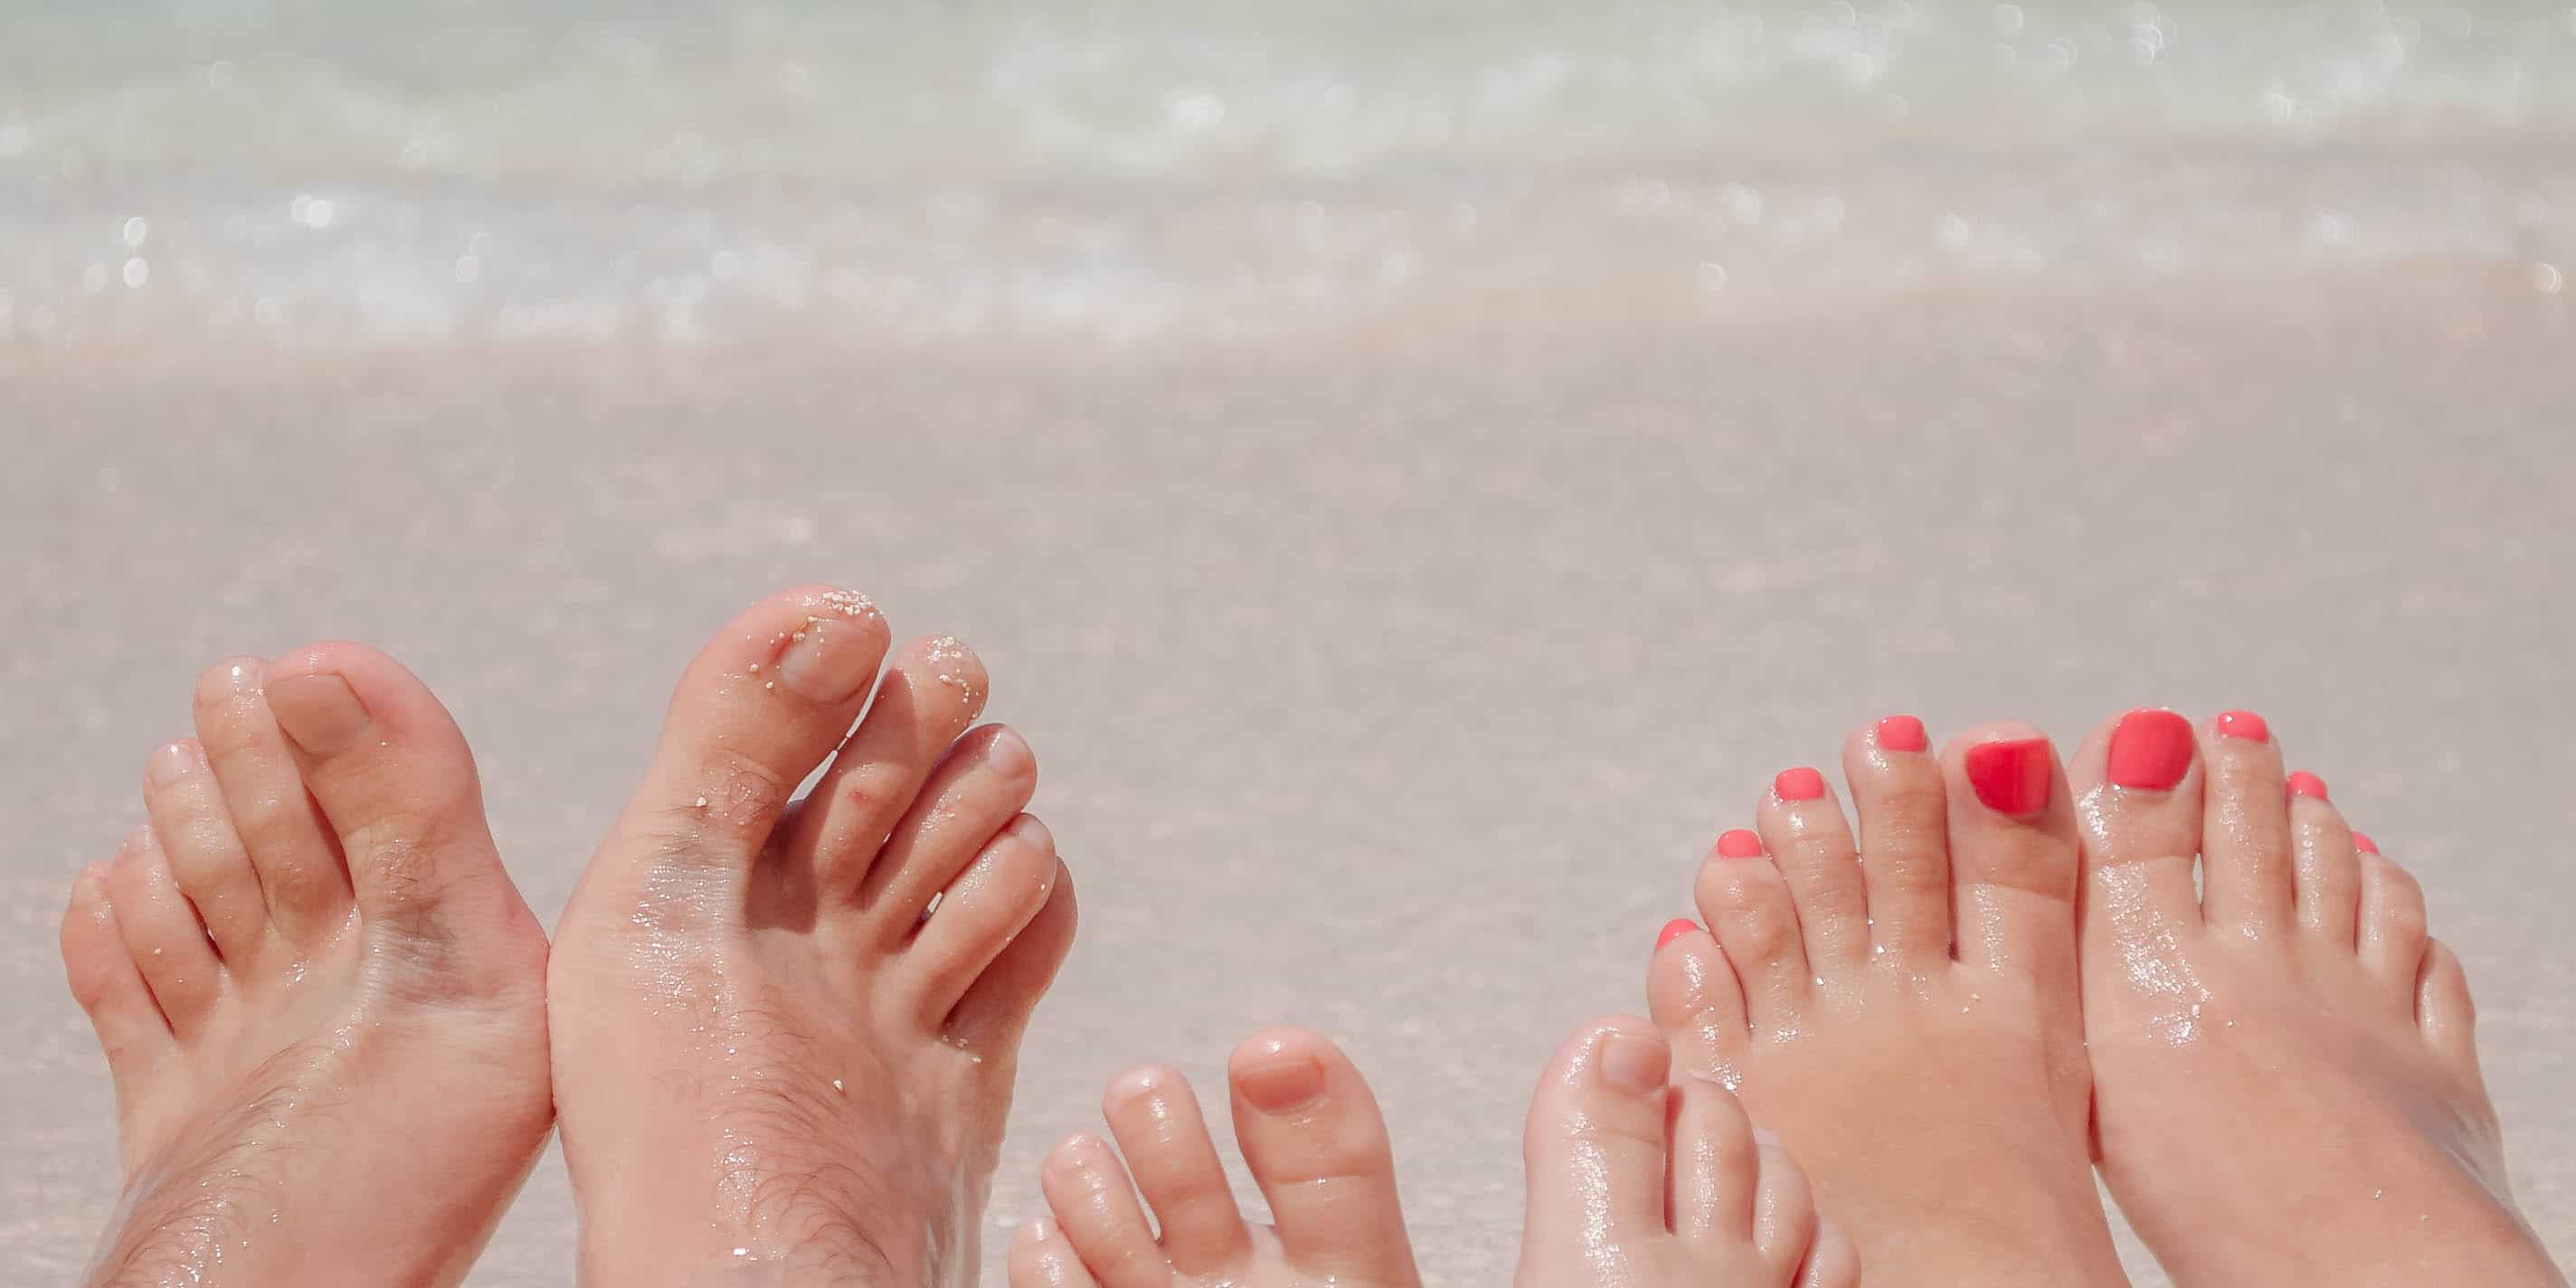
Doing your own digits takes practice — and a steady hand. Here, the best tricks for fixing, filing and painting when you and your mini-me need a pedicure on the go.
Step 1: Soak for softness
Nails are easier to trim and file, and callouses and cuticles are easier to care for when they’re soft, says Rita Remark, global lead educator for Essie. Start after a warm shower, or let feet soak in warm water for 5 to 10 minutes first.
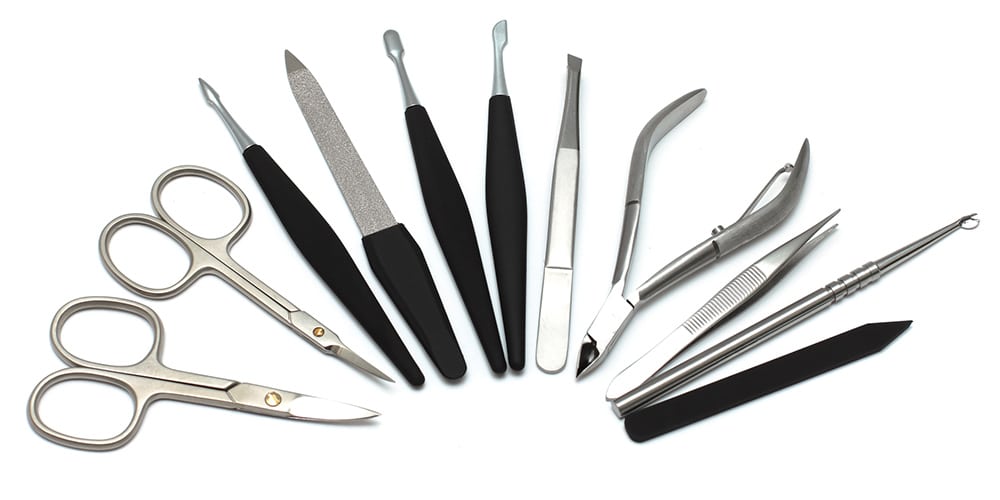
Step 2: Trim, then file
Start at one edge of the nail and gently clip in a straight line to the other side. Shape and round off the edges with a file. Try Revlon Gold Series Dual-Ended Nail Clip ($5.79; cvs.com).
Step 3: Shape cuticles
If cuticles have grown over the nails, gently ease them back with a cuticle pusher — never cut cuticles, Remark says. Note: Skip this step on younger toes.
Step 4: Smooth calluses
Use a pumice stone to buff away tough spots on heels and the sides of toes. Note: You should skip this step on younger feet, as their skin is too delicate.
Step 5: Moisturize
Massage a rich cream onto dry areas like ankles and heels — and repeat this step nightly to keep feet soft and healthy. Try Vaseline Intensive Care Cocoa Radiant Lotion ($4.99; at drugstores).
Step 6: Prep nails
Use a cotton pad to swipe polish remover over toenails to remove any oily residue from the moisturizer. Polish adheres better to bare nails. Try Cutex Swipe and Go Remover Pads ($3.49; target.com).
Kid-Friendly Tip: Weave a section of paper towel between toes to help keep them separated. This also makes it easier to apply nail polish and dry.
Step 7: Apply base coat
First, prop your feet up on a low table or a stack of magazines for better positioning. Then start painting. This first layer of polish not only protects nails from polish stains, it also acts as the glue that helps your polish stay on longer. Try Morgan Taylor Stick With It Long-Wearing Nail Base Coat ($9.50; ulta.com).
Kid-Friendly Tip: Use Sally Hansen Big Polish Guards ($5.49; target.com) to protect children’s delicate skin around nails from polish. This also helps newbies keep their color on course.
Step 8: Coat with color
For an even application, always brush your polish from the base of the nail to the tip and never brush from side to side, which can cause the polish to spill, Remark explains. Want a chip-proof seal? Apply two thin, even coats along the length of the nail and the tip or top edge.
Kid-Friendly Tip: Dark or bright colors can be tricky to get perfect. For beginners, try shimmery or glittery colors that hide imperfections better. Or use quick-dry polishes that set faster. Try Sally Hansen Insta-Dri ($3.96; walmart.com).
Step 9: Finish with top coat
Top coats now come in a range of textures, like shiny, matte or glitter. Whichever you choose will make your color last longer. Opt for a fast-dry formula, which sets polish in 60 seconds. Try this top coat: Essie Speed Setter ($15; essie.com).
Fix-It Tip: Got a smudge? “Use a thin eyeliner brush dipped in nail-polish remover to clean up any polish on the sides of your toes,” says Remark. “When it dries, reapply top coat to smooth the look.”
Now that your toes are in tip-top shape, here are the best finger-and-toe combinations for you and your little one to sport all summer long, plus some nail art tips.
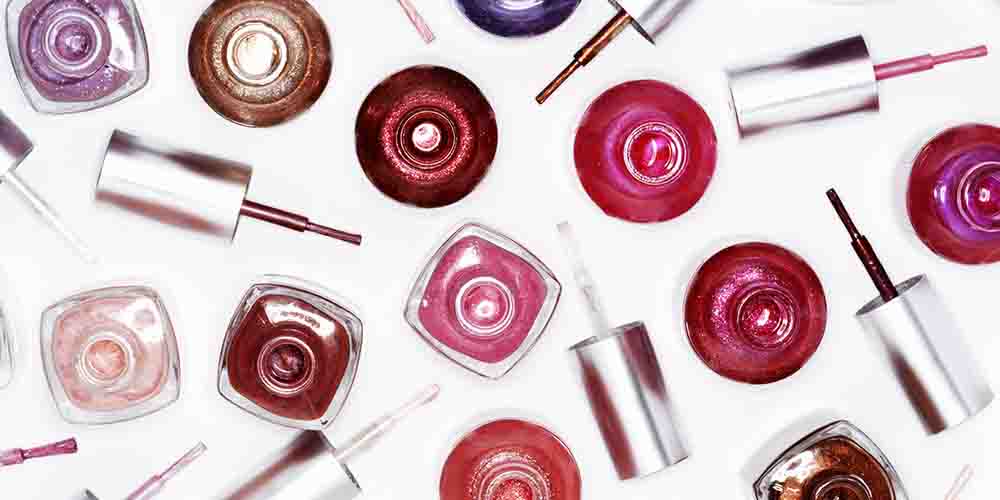
Beach Vacations: The hotter the weather, the bolder the colors. For toes, think bright yellow, vibrant orange or hot pink. Pair hot pink and red, lemon and lilac, or bright orange and pink. Try Essie nail polish in Meet Me at Sunset or The Fuchsia Is Bright. We also love Essie Gel Couture in Avant Garment or What’s the Stitch ($9; all at essie.com).
Cool Mountain Escapes: Opt for more muted neutrals with deeper, richer shades of purple or berry pinks. Pair blush pink and burnt red, pale aqua and deep purple, or amber nude and bronze. Try Essie nail polish in Empower-mint, Making Harmony, High Tides & Dives or Sunny Daze ($9; all at essie.com).
Nail Art Tip: Tie fingers and toes together by putting one dot of your pedicure color in the moon area of fingernails, on top of color. “It’s a clever way to tie in the shades with a design that’s on trend and easy to pull off,” says Remark. Simply straighten a bobby pin and dip one end into the polish and lightly dab onto the fingernail for a perfect circle. And a hint: When it comes to nail art, strike a balance by using it in on fingers or toes, but not both. Try Sally Hansen Nail Art Pens ($5.49; at drugstores).
By Molly Nover-Baker